Convolution and Filtering: Images and Signals
Convolution looks abstract when it is introduced only as notation, but the underlying action is concrete. Take a small set of weights, slide it across a signal or image, multiply what overlaps, and add the results. That repeated weighted sum creates a new output sample at every position. Once that mechanism is clear, many familiar operations stop feeling like separate tricks. Blur is just averaging nearby values. Sharpening is just a weighted comparison between a center sample and its neighbors. Edge detection is just a filter that responds strongly where values change quickly.
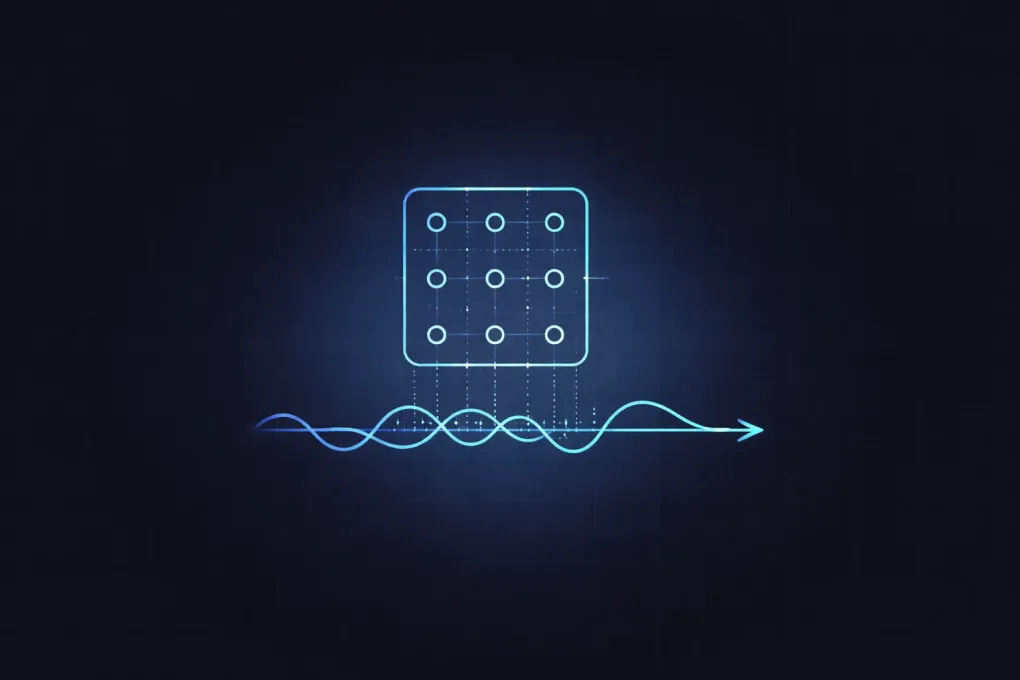
This article keeps the same idea visible across both one-dimensional signals and two-dimensional images. In one dimension, convolution is easier to inspect because you can watch each overlap term directly. In two dimensions, the same pattern becomes image filtering with a kernel window. The reason these topics belong together is that the math is the same even when the pictures change.
Convolution as a Sliding Weighted Sum
For a discrete signal, convolution is commonly written as
Here x is the input signal, h is the kernel or filter, and y is the output signal.
The index n identifies the current output position.
At that position, the kernel is aligned with the signal, each overlapping pair is multiplied, and those products are added.
The first visualization is meant to build spatial intuition before the fully procedural animation later in the article. You drag the kernel across the signal and watch the highlighted neighborhood move with it while the corresponding output point changes. The goal is not to show every multiplication in detail yet. The goal is to make the phrase “sliding weighted sum” feel literal.
| drag the orange window across the signal
Drag the orange window or move the Output Position slider.
The output value does not come from one input sample.
It comes from the neighborhood currently covered by the kernel.
With a box blur kernel, the output moves toward a local average.
With a sharpening kernel, the center sample receives more weight than its surroundings.
With an edge-detection kernel, a flat region tends to cancel out while a transition produces a larger positive or negative result.
This is the key mental model to keep throughout the article: convolution is local combination, not global transformation. Every output sample is computed from nearby input values according to a fixed pattern of weights. The filter changes what is emphasized by changing those weights, not by changing the underlying algorithm.
Why the Kernel Shape Matters
The kernel is the whole behavior of the filter. A kernel with only positive weights usually acts like some form of smoothing because neighboring values reinforce one another. A kernel with positive and negative weights compares one side against another and is therefore useful for finding change. A kernel with a dominant positive center and negative neighbors can boost local contrast and make transitions appear crisper.
That is why filters with the same size can behave completely differently.
A three-tap box blur [1/3, 1/3, 1/3] and an edge filter [-1, 0, 1] both inspect three samples, but they ask different questions.
The blur kernel asks for a neighborhood average.
The edge kernel asks whether the right side is larger than the left side.
The algorithm is unchanged; only the weights are different.
In practical systems this makes convolution powerful. You can often change image behavior dramatically just by changing the kernel, while leaving the surrounding processing pipeline intact. That is one reason convolution appears everywhere in signal processing, audio, imaging, optics, and neural networks. The operation is general, and the kernel defines the task.
From 1D Signals to 2D Images
Once you move from a line of samples to a grid of pixels, the idea stays the same. A 2D kernel is placed over a small pixel neighborhood. Each pixel under the window is multiplied by its corresponding kernel weight. All of those products are added to produce the filtered pixel value.
For a grayscale image, that sum directly produces the new intensity. For a color image, the same weighted sum is usually applied independently to red, green, and blue channels. That is why many image-editing tools can expose blur, sharpen, emboss, and edge-detect filters as simple options in one menu. They are all variants of convolution with different kernels.
| kernel = Box blur 3x3 | blend = 1.00
What changes in practice is not the algorithm but the question the kernel asks of each local neighborhood. A blur kernel asks for a weighted average, so high-frequency detail and hard edges are softened because neighboring pixels are pulled toward one another. A sharpen kernel asks the center pixel to stand out relative to its surroundings, which boosts local contrast and makes boundaries feel crisper. An edge-detection kernel asks how different one side of the neighborhood is from the other, so flat regions largely cancel while abrupt transitions produce a strong response. Emboss goes one step further by making that comparison directional, which creates the illusion of relief because one side of an edge is brightened while the other is darkened.
Once you see convolution as “the same local weighted sum applied at every pixel,” image filtering becomes much less mysterious. You are not invoking a separate class of image-processing trick. You are just repeating the same neighborhood rule across a two-dimensional grid instead of a one-dimensional sequence.
Blur, Sharpening, and Edge Detection as Different Questions
It helps to think of each kernel as asking a local question about the data. Blur asks, “What is the neighborhood average?” Sharpening asks, “How can I keep the local structure but exaggerate differences from the neighborhood average?” Edge detection asks, “How different are the values on opposite sides of this position?”
That framing is more useful than memorizing named kernels. Once you understand the question a filter asks, you can usually predict its output on a simple pattern. A blur filter applied to a constant region returns nearly the same constant value. A sharpening filter applied to a constant region also tends to return something similar, because there is no contrast to boost. An edge filter applied to a constant region returns something near zero because the differences cancel.
The cancellation point is especially important. Positive and negative weights are what let convolution detect change instead of only averaging values. When two sides of the kernel see similar values, they cancel. When one side sees dark pixels and the other sees bright pixels, the cancellation breaks and the output grows in magnitude. That is why derivative-like kernels are useful for detecting boundaries, gradients, and oriented features.
Convolution Is Linear and Shift-Invariant
Two properties explain why convolution is used so broadly in engineering. First, it is linear. If you double the input, the output doubles. If you add two signals together and then filter them, you get the same result as filtering each one separately and then adding the outputs. Second, it is shift-invariant when the kernel stays fixed. If you shift the input to the right, the output shifts by the same amount instead of changing character.
Those properties make convolution predictable and composable. They let engineers describe systems in terms of impulse responses, frequency response, and transfer functions. Even if you are not using those tools directly, the practical consequence is simple: a fixed kernel gives the same local rule everywhere in the signal or image. That consistency is what makes filtering analyzable.
Why Edge Handling and Normalization Matter
Many introductory examples ignore two details that become important in real software. The first is normalization. If your blur kernel sums to one, flat image regions stay at roughly the same brightness after filtering. If the weights sum to more than one, the image brightens. If they sum to less than one, it darkens. That is sometimes desired, but often it is not.
The second detail is boundary handling. Near the edges of an image or signal, the full kernel may no longer overlap valid samples. You then need a rule: assume zeros, clamp to the nearest valid pixel, wrap around periodically, or compute only the region where the full kernel fits. Different rules produce visibly different borders. The rule is not a small implementation detail. It becomes part of the filter behavior.
Connecting Convolution to Broader Topics
Convolution is a bridge concept. In optics, a point spread function blurs an ideal scene through convolution, which connects directly to the article on diffraction and the Airy disk. In graphics pipelines, filters are often applied to textures, shadow maps, and post-processing buffers after the image has already been generated, which complements the article on vertex and fragment shaders in the graphics pipeline. In machine learning, the same local weighted-sum idea becomes the basis of convolutional layers, although the learned kernels are discovered from data rather than chosen by hand.
The unifying lesson is that convolution is not limited to one domain. It is a reusable way to express how local neighborhoods influence each output sample. Once you recognize that pattern, blur, sharpen, detect edges, simulate optics, and analyze signals all start to look like variations on the same theme.
Summary
Convolution is a sliding weighted sum. At each position, the kernel overlaps the input, the overlapping terms are multiplied, and the products are added. Everything else comes from the kernel design.
If you keep three points in mind, most filtering behavior becomes easier to reason about:
- Positive normalized weights tend to smooth and blur.
- Positive and negative comparisons tend to reveal change and edges.
- A dominant center with compensating neighbors tends to sharpen local contrast.
That is why convolution is such a central tool. One operation supports many behaviors, and the visualization of that sliding weighted sum is the shortest path to understanding all of them.